I’ve always been obsessed with mushrooms. As a little girl I loved to go foraging and to learn about the different kind of mushrooms that grew in the woods. There’s something so rewarding about gathering your own food that can never be explained in words. But did you know that you can also create art from mushrooms? It’s called ‘spore printing’ or ‘mushroom spore print art’ and I’m pretty sure this method makes the coolest looking art in the world.
It’s really simple and easy to do, and basically free! Some people say they look like the universe exploding, I think they look a little bit like an iris. Why not make your own and see what you come up with? Here’s how you do it.
Materials:
- Mushrooms! The fresher they are, the better; so if possible find some fresh mushrooms rather than ones from the shop (but if all else fails shop bought mushrooms will work well too). I foraged mine from my local woodlands and managed to find a great selection – including a Fly Agaric! It’s definitely well worth having a looking during autumn fall time to see what you can forage and find.
- Paper or cardboard. For this project we’re going to use recycled coloured card as our base material, and also some black card. You could use any kind of paper or cardboard for this project if you want! Just make sure it’s clean and free from dust so it doesn’t interfere with your spore print.
- A few drops of water.
- Bowl or container to cover the mushroom. This stops the spores from being disturbed by air flow.
- Hairspray or fixing spray.
Step 1: Find your mushrooms
The first step to making your very own mushroom spore art print is to find a mushroom. You want to search for one that is healthy and has a good color. Mushrooms are easiest to find in the fall, but you can look for them in other seasons as well! You can also check out your backyard or even go on an adventure into the woods or park. If there’s some mushrooms growing on a side of the street, I’d say those are fair game too!
Collect them in a container and make sure that you disturb the gills as little a possible. If you’re not sure what you’re doing or can’t find any near you, you can also go foraging… in your local shop maybe? I think it should work just as well. 🙂

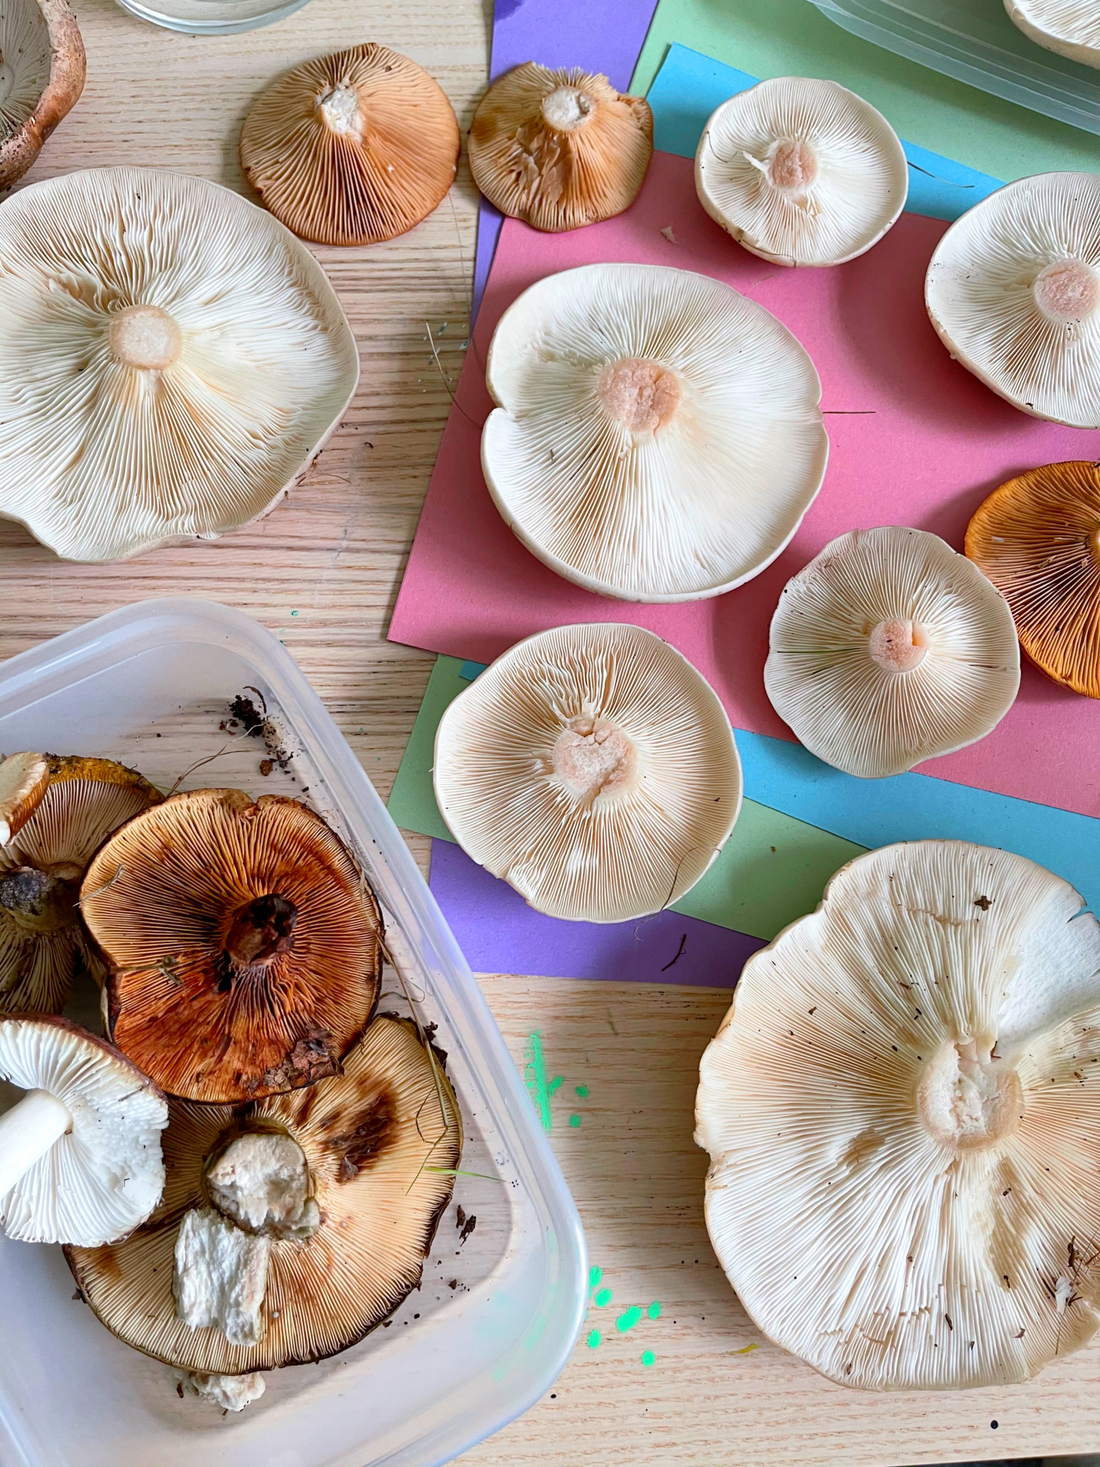
Step 2: Harvest your mushroom
I’ll be using mature mushrooms today for my spore prints because that’s all that I could find in the woods. Be sure that the cap is opened. The stem should also be dry and free of debris. If you have any doubts about whether or not your mushroom will work for this project, feel free to consult an expert at a mycological society near you! And please only harvest mushrooms that you can identify. Safety first!
A good foraging tip is also to only harvest a species if you can visibly spot others of it’s kind in the same area – if you harvest the first of it’s kind then there’s a chance they won’t grow again in that spot next year! You can also give them a little flick to release a few spores into the ground.
Step 3: Find your card or paper
The third step is to find a paper or cardboard.
It should be dark in color, relatively smooth and have a matte finish. It should also be large enough to hold the mushroom you are going to make your spore print on. I have chosen some recycled coloured card and some black card.

Step 4: Setting up the print
Next, place your mushroom face down on the cardboard or paper. (Gills should be in contact with the page). Make sure it’s centered and not touching any of the sides of the paper or cardboard. Gently press down on the top of the mushroom and add a few drops of water to the top. Make sure you only add the tiniest amount of water because you don’t want the page to get soggy.

Step 5: Cover the mushroom with a bowl
Find a bowl, mug or container that comfortable covers the mushroom and place it over the top. This keeps the air in, helps the mushroom retain moisture which will help it to release its spores and stops any drafts or air flow from disturbing the spores as they fall.

Step 6: Wait 2 – 6 hours.
The last step is to wait for the spores to fall on the paper/cardboard. It may take a while, so sit back and relax while you wait. If you want to make a larger spore print, just use more mushrooms to the page! Do not leave the mushroom in place for longer than 12 hours, as it may get soggy and crumple the page with moisture. Once you’ve removed your mushroom you can even use the same mushroom again, I’ve found the same mushroom can work up to 3 times!

Step 7: Fix your print with spray
Apply a gentle dusting of hairspray or fixing spray to the print to secure the spores ands top them from falling off.
Step 8: Finishing touches
Once your spore print is done drying, it’s ready to be framed or hung up wherever you like!
If you’re looking for a fun project that will make a great gift or conversation starter, try making your own spore print! It’s easy and only takes a few minutes of your time. If you like this tutorial and would like to see more like it, please share! And check out my blog for more art tips and tricks.